
solvida
How to Build a Gravel Stone Pathway
Our north DFW area has been hit hard over the past year with an unprecedented amount of rain fall. This has led to a lot of sod dying off in side yard areas, leaving the soil exposed and subject to further erosion. This can be frustrating for a homeowner as side yard areas already struggle to grow healthy turf due to lack of sunlight and steep grades. A very practical solution for this landscaping challenge would be to build a gravel stone pathway.
Using an aggregate such as decomposed granite, crushed limestone, pea gravel or river rock will not only allow water to drain properly away from your home’s foundation, it also helps to prevent erosion, takes little to no ongoing maintenance and can provide an excellent foundation for a walking path. Here are step by step instructions on how to build a gravel stone pathway.
Define Your Pathway
To create a gravel stone pathway, you will first need to determine the shape and size. An easy way to do this is to mark the pathway area with turf paint or you can also use a garden hose to define the area. Take note of any sprinkler heads in the pathway area and if they will no longer be needed to water turf, cap them off.
Contain the Gravel
Your aggregate will need to be contained. If your pathway will run alongside a grassy area or a fence line, you will need to install an edging material to keep the aggregate from spilling out under the fence and to provide a solid edge for effective lawn mowing and trimming. Install steel or composite edging secured with stakes around these areas.
Prepare the Area
If your pathway area currently has sod installed, plan to eliminate it. You can eliminate sod several different ways. The fastest and least labor intensive way to remove sod would be to spray the area with a grass killing spray. You can also remove large areas of sod with a sod cutter.
Once the sod has been removed, you should install a commercial grade weed barrier/landscaping fabric throughout the pathway area. This layer of fabric will help to prevent future grass growth in your pathway area. Before installing this fabric, make sure you have capped off any sprinkler heads that are no longer be needed and check for leaks. Install the landscaping fabric by laying it out over the entire pathway area, making sure to overlap the installed pieces and securing them fabric with heavy duty sod staples.
Add Aggregate
Begin to add your aggregate material one wheelbarrow at a time to a total depth of 3”-4”. Once all of the aggregate has been installed, level the aggregate in your pathway with a steel landscaping rake. As you are leveling your pathway, you will want to make sure your aggregate sits below the surrounding edging so there is no chance of it spilling out. You will also want to test any gates that will intersect with your pathway. Open and close the gates several times to make sure the aggregate doesn’t prevent you from using the gate.
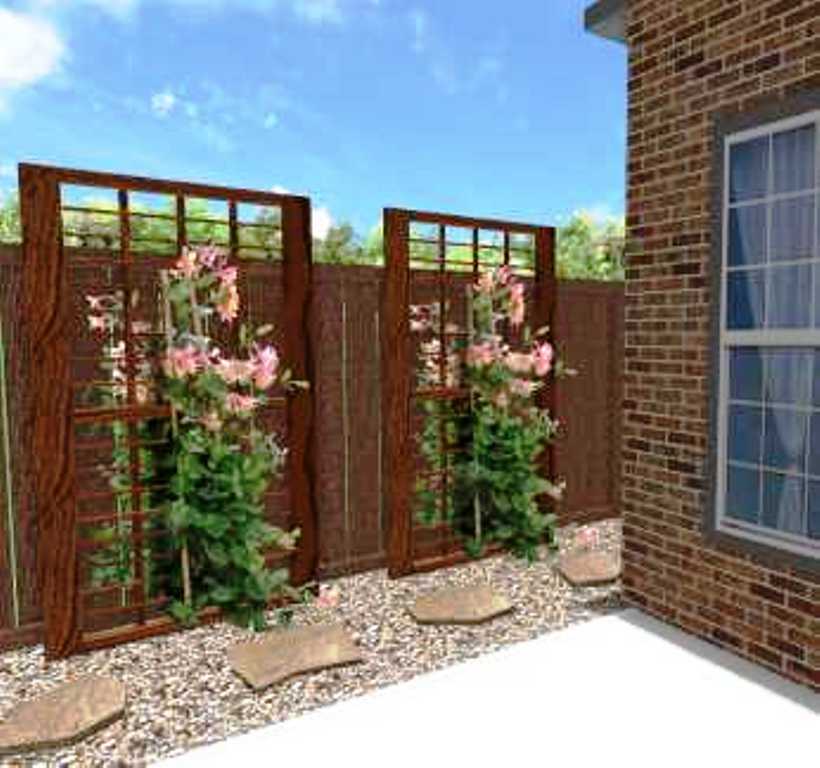
Install Stepping Stones
If you want to enhance your pathway with stepping stones, plan to lay them out in your pathway before adding your aggregate material. If your stepping stone path is very uneven or “unlevel”, you can use additional soil or a thin layer of decomposed granite to help level the area and provide your stepping stones with a solid base to prevent cracking. Once set in place, you can begin to add the aggregate.
As you can see building a gravel stone pathway is a a fairly simple process as long as you have enough labor to help move the heavy gravel to your new pathway area. If you don’t have the time or labor, then consider hiring a local Prosper landscaper for your project. Also, don’t forget to use a garden hose with a jet nozzle to remove excess dirt and mud from your new gravel stone pathway and stepping stones as a finishing touch.