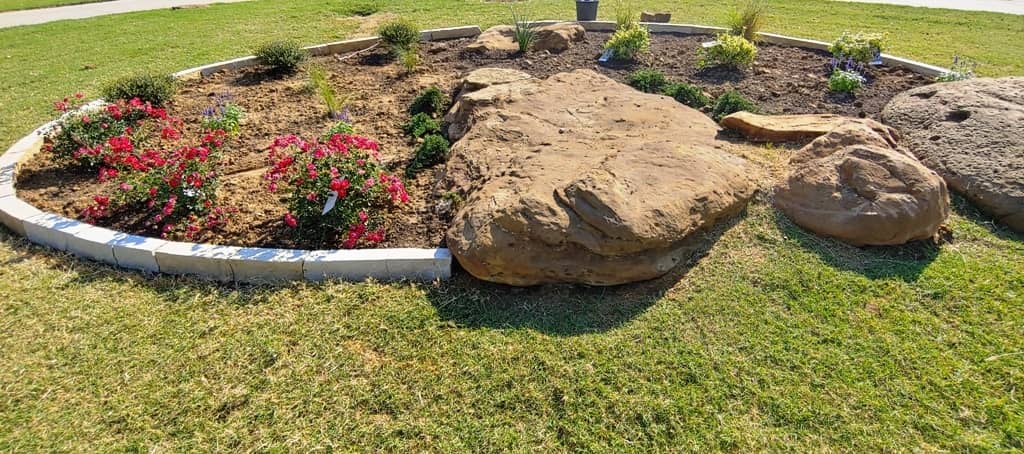
When selecting a new plant for your landscape design project, it’s essential that you understand what the plant needs. Specifically, plants need a certain level of sunlight and water. Take the time to study your planting locations so you are familiar with the sun exposure. Also take note of how water moves through the area. Most plants want a degree of sunlight every day and soil that drains well. Once you understand the needs of your new plant, you can find the best, most appropriate location for the plant.
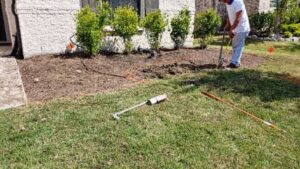
Dig a Hole
Now that you’ve found the right spot for your new plant, you will need to dig a hole for the landscaping plant. An easy way to mark your hole is to place the plant itself, while in the container, in place and simply dig a few inches around the container. Continue digging this hole to the depth of the container.
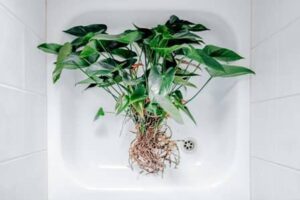
Loosen the Root Ball
The most important part of planting is transferring the roots of your plant to its new home in the ground. Carefully remove your plant from the container. Using your fingers or a small gardening shovel, gently loosen the soil around the root ball, teasing the roots out.
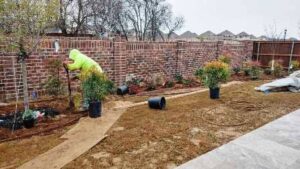
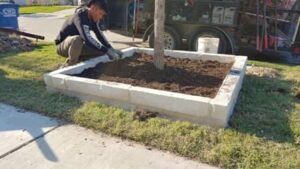
Position the Plant
Place your new plant in the center of the hole. It should be straight and sit just above the soil line. This is very important. During the first week, your new plant will settle and drop. If you install you plant level with the soil line in your flower bed, after a week or so, it may now be buried under the soil and can start to pool water, leading to root rot. Make sure to position your new plant just above the soil line.
Fill with Soil
The soil you use to plant with should be a mixture of the existing soil along with a more nutrient rich soil. For the North Texas area, we suggest amending your soil with compost and sand. Take about half of the soil you removed from the ground when digging your hole and mix it with the new soil. Use this soil mixture to fill in around the plant and lightly compact to help the soil and roots to make contact and stabilize the plant. Check your plant again after watering. If the soil has settled a lot, add more soil and repeat watering.
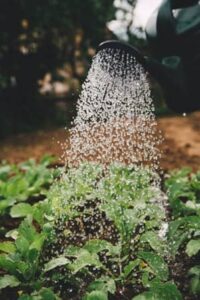
Water the Plant
Your new plant should be watered slowly with a steady stream of water after planting. This ensures water gets down into the entire plant, encouraging the roots to drop and settle into the soil. Plan to water your new North Texas landscaping plant daily for about 5-7 days to get fully rooted. After this rooting period, most plants in the ground need weekly watering unless temperatures are routinely in the high 90’s or above. At this temperature, most plants will need to be watered twice weekly.
Apply Mulch
Hardwood mulch offers plants a great number of benefits and should be part of your budget consideration when planning your landscape design. Mulch will keep the soil around your plant from eroding and exposing the root ball and help keep unwanted grass from invading your flower beds. Mulch will slow the flow of water around your plant, allowing the roots plenty of time to take what they need. Finally, mulch offers your plant protection from the elements, keeping it warm in the winter and cool in the summer.
After planting, install a quality, natural hardwood mulch around the base of the plant and pull it away slightly from the trunk or stem of the plant.